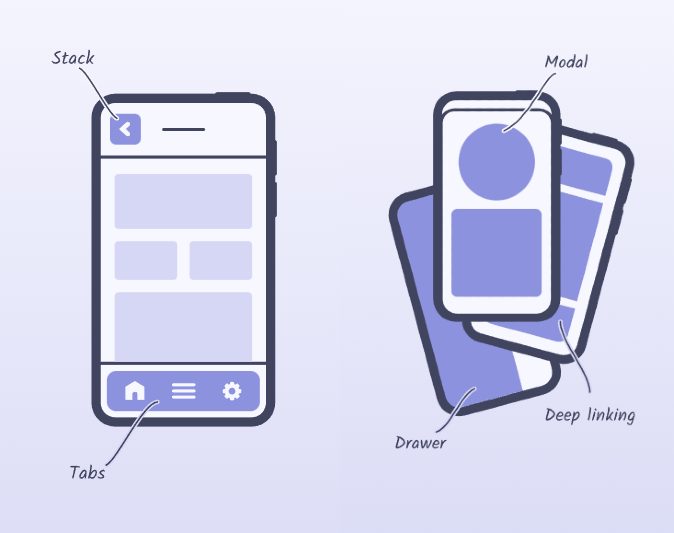
We are going to discuss the following types of Navigation and how to implement them:
- Stack Navigation
- Tab Navigation
Stack Navigation in React Native is a navigation pattern that allows you to navigate between different screens or views in a stack-like fashion. It mimics the behavior of navigation stacks commonly found in mobile applications, where you can push new screens onto the stack and pop screens off the stack.
Key Concepts:
- Stack: A data structure that follows the Last In, First Out (LIFO) principle. The most recently added item (screen) is the first one to be removed.
- Push: Adding a new screen to the top of the stack.
- Pop: Removing the current screen from the top of the stack, revealing the previous screen.
Benefits of Stack Navigation:
- History Management: Easily navigate back to previous screens.
- Simple Navigation: Easy to understand and implement for hierarchical navigation.
- Native Feel: Provides a navigation experience similar to what users expect on iOS and Android.
npm install @react-navigation/native-stack
u need to also install the basic for all navigation to work
npm install @react-navigation/native
npm install react-native-screens react-native-safe-area-context
see the below code how u can implement it
import * as React from 'react';
import {Text, Button} from 'react-native';
import {NavigationContainer} from '@react-navigation/native';
import {createNativeStackNavigator} from '@react-navigation/native-stack';
// Our Screens
function Screen1({navigation}) {
return (
<>
<Text>Screen 1</Text>
<Button
title="Go to Screen 2"
onPress={() => navigation.navigate('Screen2')}
/>
</>
);
}
function Screen2({navigation}) {
return (
<>
<Text>Screen 2</Text>
<Button
title="Go to Screen 1"
onPress={() => navigation.navigate('Screen1')}
/>
</>
);
}
// Initialize the Stack navigator
const Stack = createNativeStackNavigator();
function StackNavigation() {
return (
<NavigationContainer>
<Stack.Navigator>
<Stack.Screen name="Screen1" component={Screen1} />
<Stack.Screen name="Screen2" component={Screen2} />
</Stack.Navigator>
</NavigationContainer>
);
}
export default StackNavigation;
Tab navigation in React Native is a navigation pattern that allows you to switch between different screens or views using tabs. Each tab corresponds to a different screen, and users can easily switch between these screens by tapping on the respective tab.
Benefits of Tab Navigation:
- Intuitive Navigation: Users are familiar with tab-based navigation, making it easy to use.
- Clear Organization: Helps in organizing related content or functionalities into separate tabs.
- Efficient Screen Management: Allows quick switching between different screens.
Tabs can be either on the top of the screen or bottom. React navigation comes with three different APIs for tabs:
- Bottom Tabs A simple tab bar on the bottom of the screen.
- Material Bottom Tabs A material-design-themed tab bar on the bottom of the screen.
- Material Top Tabs A material-design-themed tab bar on the top of the screen.
In this article, we are only going to look at Bottom Tabs to get an idea of how to use a tab navigator. Start with installing the required package for Bottom Tabs:
install the dependencies
npm install @react-navigation/native @react-navigation/bottom-tabs
npm install react-native-screens react-native-safe-area-context
import * as React from 'react';
import {Text} from 'react-native';
import {NavigationContainer} from '@react-navigation/native';
import {createBottomTabNavigator} from '@react-navigation/bottom-tabs';
// Our Tabs
function Tab1() {
return <Text>Tab 1</Text>;
}
function Tab2() {
return <Text>Tab 2</Text>;
}
// Initialize the Tab navigator
const Tab = createBottomTabNavigator();
// We always surround navigator with NavigationContainer
function TabsNavigation() {
return (
<NavigationContainer>
<Tab.Navigator>
<Tab.Screen name="Tab1" component={Tab1} />
<Tab.Screen name="Tab2" component={Tab2} />
</Tab.Navigator>
</NavigationContainer>
);
}
export default TabsNavigation;